What to Expect in Race Week for IRONMAN and 70.3
Race week can feel overwhelming, even for experienced IRONMAN and 70.3 athletes. Months of training are done, fitness is locked in, and now the focus shifts from building fitness to executing well. Understanding what happens in race week and especially the day before the race helps reduce stress and ensures you arrive at the start line calm, prepared, and confident.
This guide walks through what to expect, with a particular focus on the practical steps you will take the day before race day. For what to expect on race morning, see our guide here.
1. The Purpose of Race Week
Race week is about preparation, not improvement. You are not trying to gain fitness or test yourself. The goal is to arrive healthy, rested, well-fuelled, and mentally clear. Every decision you make during this week should support those outcomes.
Training volume is reduced, but routine still matters. Short, light sessions help maintain feel for each discipline and settle nerves. Sleep, nutrition, and hydration become priorities. Logistics take centre stage so that nothing feels rushed or unfamiliar on race morning.
2. Read the Athlete Guide
By now you should have scoured the website for every piece of information you can find on the race, especially the Athlete Guide. This is usually released about a month out from race day - but IRONMAN often have last year’s guide online. It’s worth reading last year’s guide just to get an idea of what to expect, but do not assume last year will be the same as this year - there may be changes!
Once you’ve read the Athlete Guide, read it again. Seriously. The answer to nearly all of your questions will be in there. The amount of athletes we see asking questions to the race Facebook group and to the organizers is astounding when the answers are in the Athlete Guide. Read. The. Athlete. Guide.
3. Arriving at the Race Location
If you are travelling, aim to arrive early enough to settle in without pressure. This allows time to adjust to climate, check equipment, and familiarise yourself with key locations such as transition, swim start, and athlete check-in.
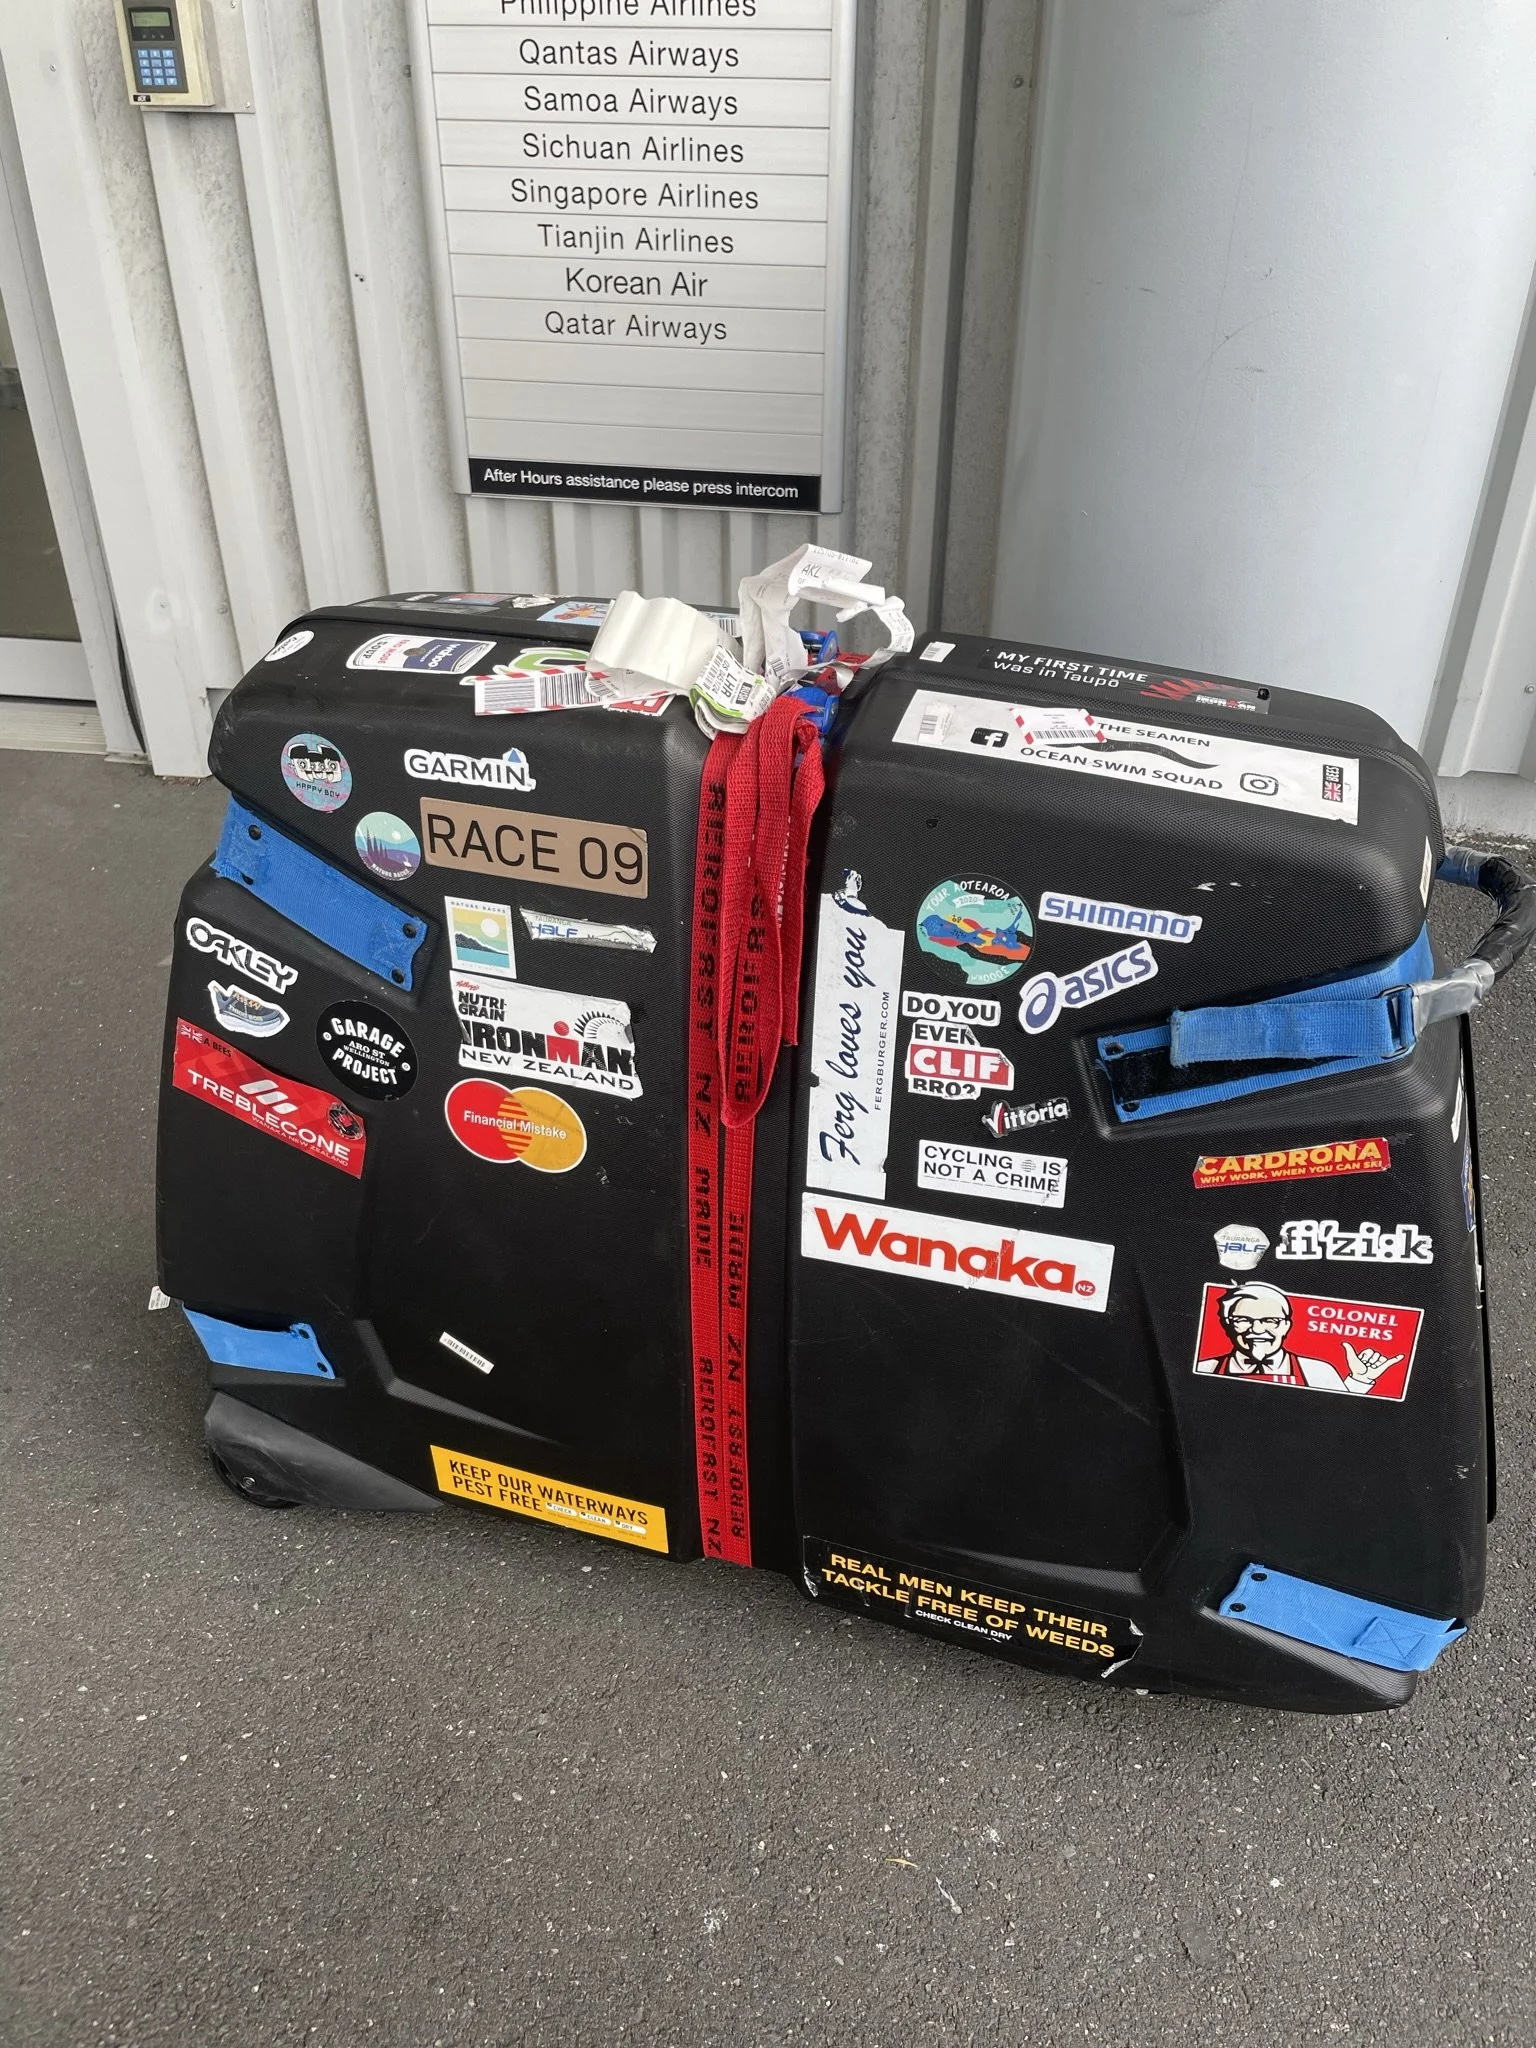
Once you arrive, your first job is to confirm that all your equipment has arrived intact. Lay everything out in your accommodation and check it against your race packing list. Catching missing or damaged items early gives you time to fix the problem.
(Check out some more tips here)
4. Rebuilding and Checking Your Bike
For athletes who travelled with a bike, rebuilding the bike is usually the first major task. Do this as soon as possible, so if you find any damage then you have time to get it repaired.
Take your time with rebuilding and checking. Assemble the bike carefully, following the same process you use at home. Ensure bolts are tightened to the correct torque, wheels are seated properly, brakes are aligned, and gears shift smoothly. If you’re not comfortable rebuilding your bike yourself, research mechanics/bike shops before you leave and book it in for a rebuild. Often the race venue will have a bike mechanic and rebuild service.
Once the bike is rebuilt, take it for a short test ride. This is not a workout. The purpose is to confirm that everything works as expected. Listen for unusual noises, check braking under light pressure, and make sure your position feels normal. Cycle through the gears.
If anything feels off, visit the official race mechanics or a local bike shop early rather than leaving it until the last minute.
5. Athlete Check-In and Race Pack Pick-Up
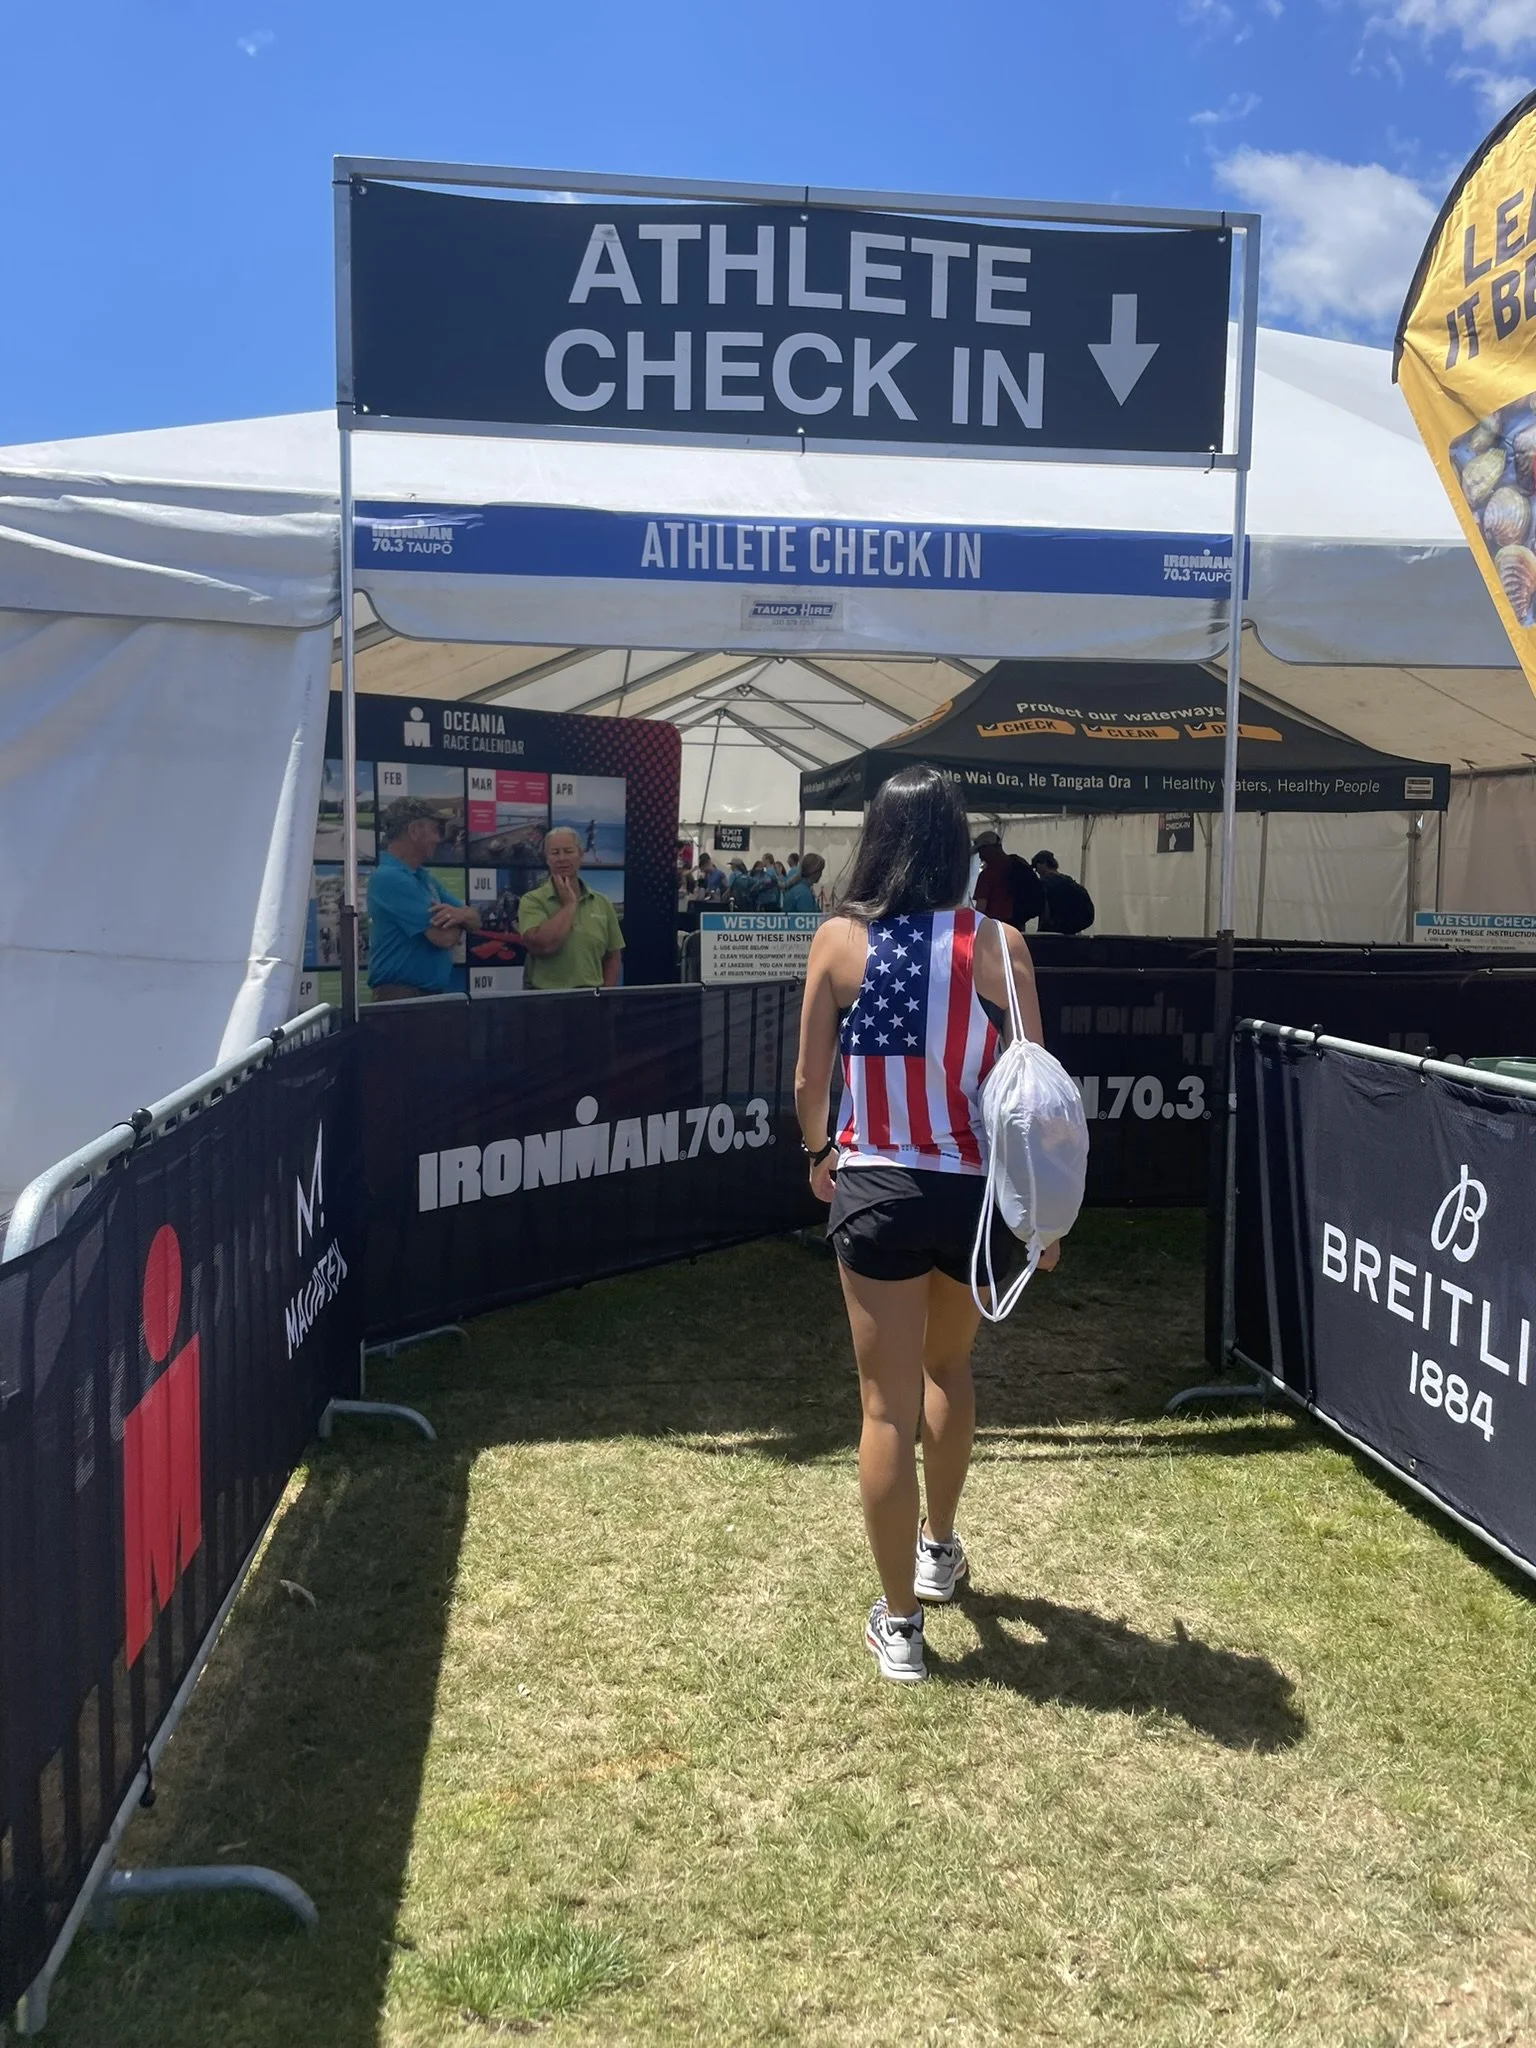
Most IRONMAN and 70.3 events require athlete check-in before race day. Some events do let you check-in on race day, but the vast majority only allow check-in the day before. You must check the Athlete Guide and official schedule for check-in times.
Check-in is usually held one or two days before the race. At check-in, you will present identification, confirm emergency details, and receive your race pack.
Your race pack typically includes your race bib, helmet and bike stickers, transition bags (if used), wristband, and athlete information. Take time to review what you receive and read any written instructions provided. These often contain last-minute updates or course specific rules.
Do not remove your wristband. This is your access pass to transition and athlete-only areas for the rest of the event. You will need this to pick your bike up at the end of the race.
If you are racing IRONMAN, this is where you will collect your special needs bags. 70.3 does not allow special needs bags.
6. Special Needs Bags for IRONMAN
Full distance IRONMAN races include special needs bags on both the bike and the run. These are optional bags that you can access once during each leg of the race, usually around the halfway point or at a point on each lap. Specific details are in, you guessed it - the Athlete Guide.
Special needs bags are typically distributed with your race pack and must be labelled with your race number. They are handed in at a designated location and time, often the day before the race. Missing the cut-off means the bag will not be available on course, so check the schedule carefully.
The purpose of special needs bags is to provide a backup or a psychological lift rather than a primary nutrition plan. Common items include spare nutrition, a change of socks, a spare inner tube, blister care, sunscreen, or a small morale boost such as a familiar snack.
Avoid putting anything essential or irreplaceable in these bags. Access is not guaranteed, and bags are not always returned after the race. If you do stop to access your bag, keep it brief and purposeful. Lingering wastes time and breaks rhythm.
Think through your race plan and decide whether special needs adds value for you. Many experienced athletes choose to race straight through, while others benefit from the mental reset it provides.
7. Applying Stickers and Preparing Equipment
After collecting your race pack, apply all required stickers - check the Athlete Guide for locations of stickers. Bike stickers usually go on the seat post or top tube, and helmet stickers must be visible on the outside of the helmet. Bib numbers are typically worn on a race belt for the run.
Apply stickers carefully and according to instructions. Incorrect placement can cause issues on race morning or during post-race bike collection.
Once stickers are applied, prepare your race equipment at your accommodation. This includes checking tyres, charging bike computers and watches, organising nutrition, and laying out clothing for each discipline.
8. Collecting Your Timing Chip
Most races require you to collect your timing chip at athlete check-in or at a dedicated collection point - sometimes after you have racked your bike on the way out of transition (see below). This chip is usually worn around your ankle during the race.
Make sure you understand when and where to collect it, and whether it must be returned after the race. Practice putting the strap on so you know which ankle you prefer and how tight it should feel.
9. Attending the Athlete Briefing
The athlete briefing provides important information about the course, rules, weather, and any last-minute changes. Some events hold this in person, others provide it online.
Even if you feel experienced, take the time to attend or watch it. Course changes, cut-off adjustments, or transition flow updates can directly affect your race strategy.
10. Racking Your Bike
Bike racking usually opens the day before the race. This is when you bring your bike to transition and place it on the assigned rack - usually labelled with your race number. You do not usually need to bring your helmet for bike racking - your helmet may be checked for safety compliance as you enter transition on race morning (more on that here).
Arrive early if possible. This avoids queues and gives you time to familiarise yourself with the layout of transition. Note landmarks that will help you find your bike quickly on race morning.
You often do not need to leave your race gear with your bike overnight - either bike and run gear is to be stored in transition bags or put next to your bike on race morning. Check the Athlete Guide for the transition arrangements specific to your race, and it often differs between IRONMAN and 70.3 events held on the same day.
11. Transition Bags
Many IRONMAN and some 70.3 races use colour-coded transition bags instead of leaving all gear at your bike. These bags are designed to keep transition organised and reduce congestion.
Typically, you will receive separate bags for swim to bike, bike to run, and sometimes a morning clothes bag at athlete check-in. Each bag has a specific purpose and is accessed only at the relevant transition.
The bags are usually colour coded Blue for Bike and Red for Run. Make sense?
Swim to Bike transition bags laid out in numerical order
The swim to bike bag usually contains your helmet, bike shoes, sunglasses, and any nutrition you want immediately after the swim. You will collect this bag on your way from the swim to the bike and will either be hanging up on a numbered rack or placed on the ground in numerical order.
The bike to run bag often includes run shoes, a hat or visor, and run nutrition. You will collect this bag when you come off the bike and before the run.
Morning clothes bags are for items you wear to the start line and want returned after the race.
Transition bags must be packed carefully and handed in at the designated location, often on the day before the race when you rack your bike. Once they are handed in, you will not be able to access them again until the morning of race day. Check your Athlete Guide for specific details.
Pack only what you truly need and avoid overfilling the bags. Overstuffed bags are harder to manage in transition and increase the chance of fumbling when time and focus matter most.
12. The Day Before the Race
The day before the race should feel calm and controlled. Complete only short, easy sessions if they are part of your plan. These are often referred to as tune-up sessions and are designed to stay loose, not to create fatigue.
Eat familiar foods, hydrate consistently, and avoid trying anything new. This is not the time for experimentation.
Pack your race morning bag early. Include everything you need from waking up to arriving at the swim start. Lay out clothing, nutrition, timing chip, and any personal items so nothing is forgotten. Take a photo of it so you know what you packed.
Aim for an early night, but do not stress if sleep is restless. One imperfect night of sleep will not ruin your race. Focus on staying relaxed and confident in the preparation you have done.
Final Thoughts
Race week is about execution, not fitness. When you understand the process and know what to expect, nerves are easier to manage and decisions become simpler.
By rebuilding your bike carefully, completing check-in early, organising equipment methodically, and keeping the day before the race calm and predictable, you set yourself up for a smooth race morning and a strong performance on the day.
Trust your training, follow the process, and focus on controlling what you can.